How to dismantle a bunk bed may seem like a simple task, but once you start, you will realize there’s more to it than just loosening a few screws. Whether you are moving to a new home, redesigning a room, or putting it into storage, safely disassembling bunk beds is key to avoiding damage or injury.
Without the right tools or a clear plan, you could end up wasting time or damaging parts you might need later. But don’t worry in this guide, you will learn how to do it the right way, step by step, using safe techniques and basic tools you likely already have.
Tools and Preparation
Before you begin, gather all the tools needed to dismantle bunk beds. Having everything ready will save you time and help you dismantle the bunk bed safely without damaging any parts.
- Allen wrench
- Screwdriver
- Power drill
- Pliers
- Protective gloves
- Labels or masking tape & marker
Using the right tools, proper hardware, and some basic safety equipment can make the whole process smoother and much safer.
Step-by-Step Guide to Dismantle a Bunk Bed
Disassembling a bunk bed safely requires the right tools, patience, and careful handling especially if you are planning to move or reuse it.
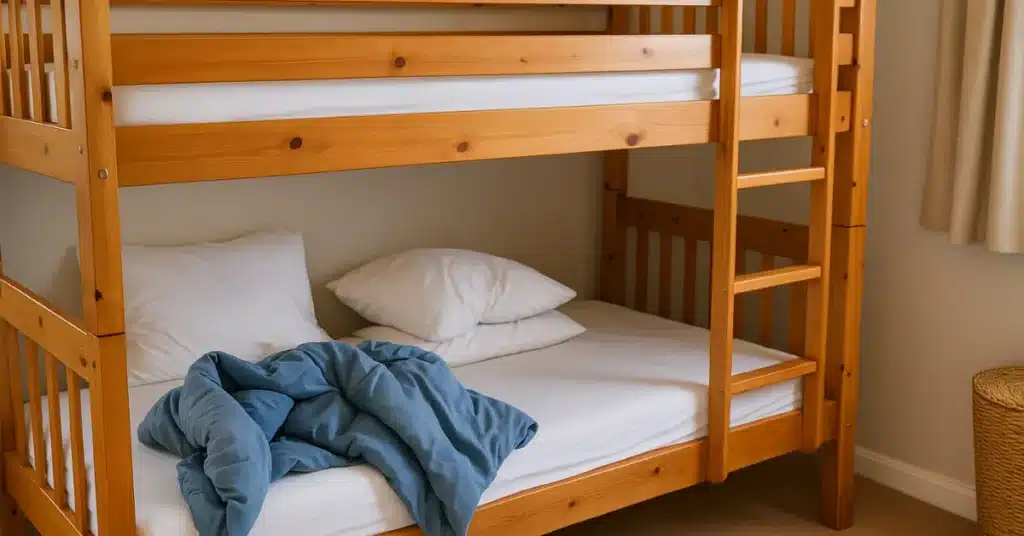
Step 1: Remove All Bedding and Mattresses
Start by taking off all pillows, blankets, sheets, and mattresses. Store them away from your working area to avoid tripping. This clears the structure and gives you full access to all parts of the bunk bed.
Step 2: Detach the Guard Rails and Ladder
Use a screwdriver or Allen wrench to unscrew the guard rails from the top bunk. These are usually attached with visible screws or bolts. Do the same with the ladder, which may be screwed to the side frame or slotted into position.
Tip: As you remove each component, place the screws or bolts into labeled zip-lock bags to avoid losing track of small hardware pieces.
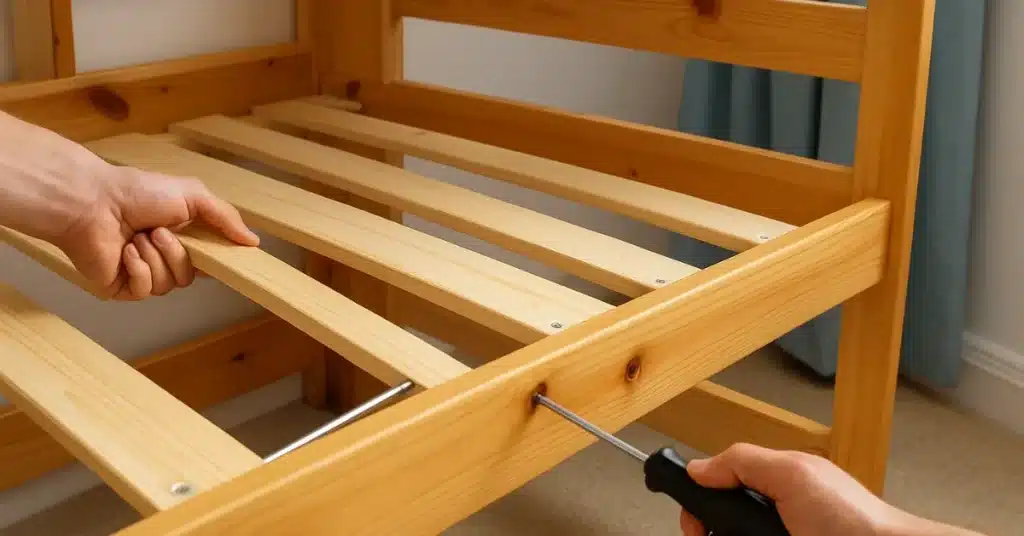
Step 3: Remove Mattress Slats and Support Beams
Carefully lift out the slats (the wooden or metal bars beneath the mattress) from both bunks. Then unscrew and remove any horizontal support beams. Some support bars may be nailed or tightly fitted, so use pliers or a flat-head screwdriver if needed.
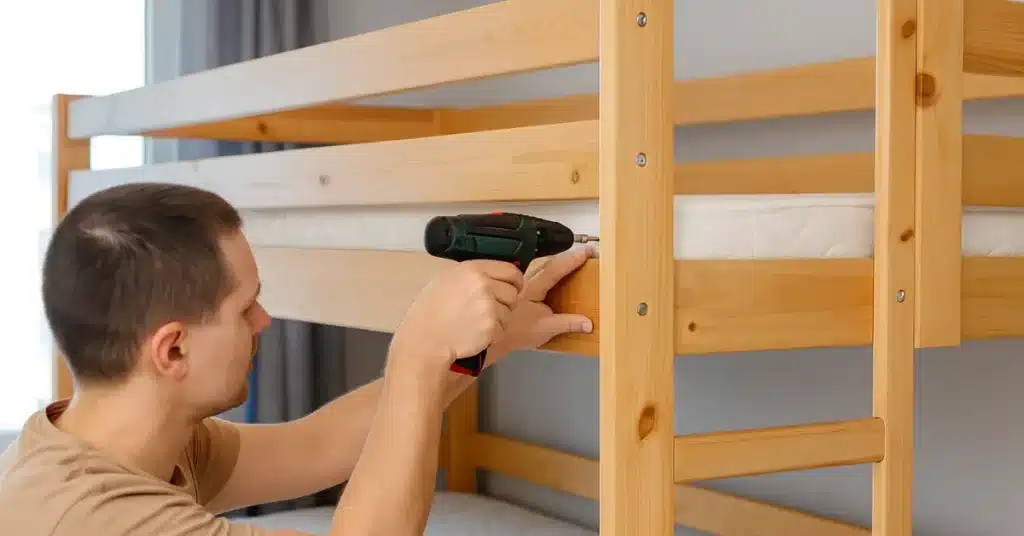
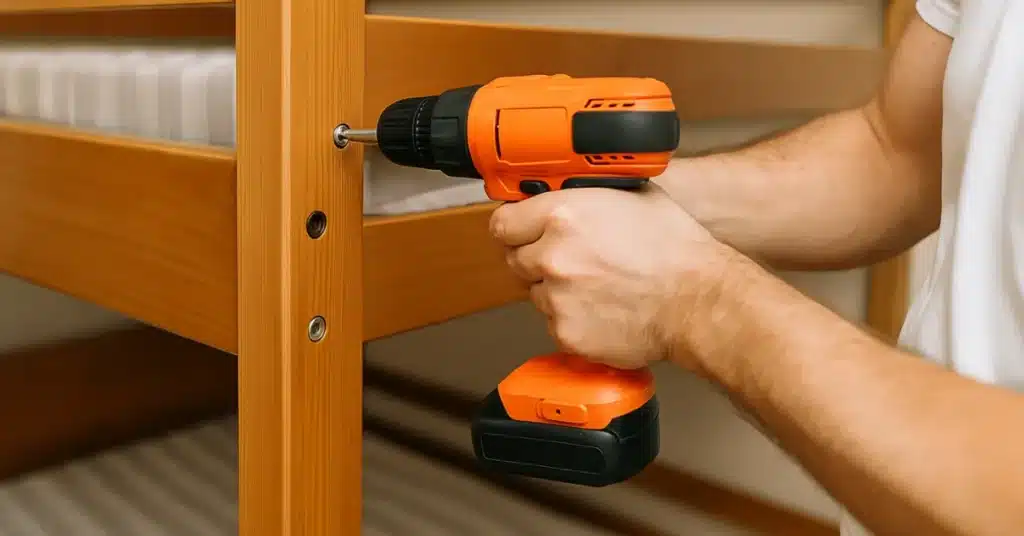
Step 4: Unscrew the Bed Frame Connections
Check all corners and vertical posts where the bunk bed bolts and hardware are located. Use your Allen wrench or power drill to loosen and remove these bolts. Take your time some bolts might be holding multiple pieces together.
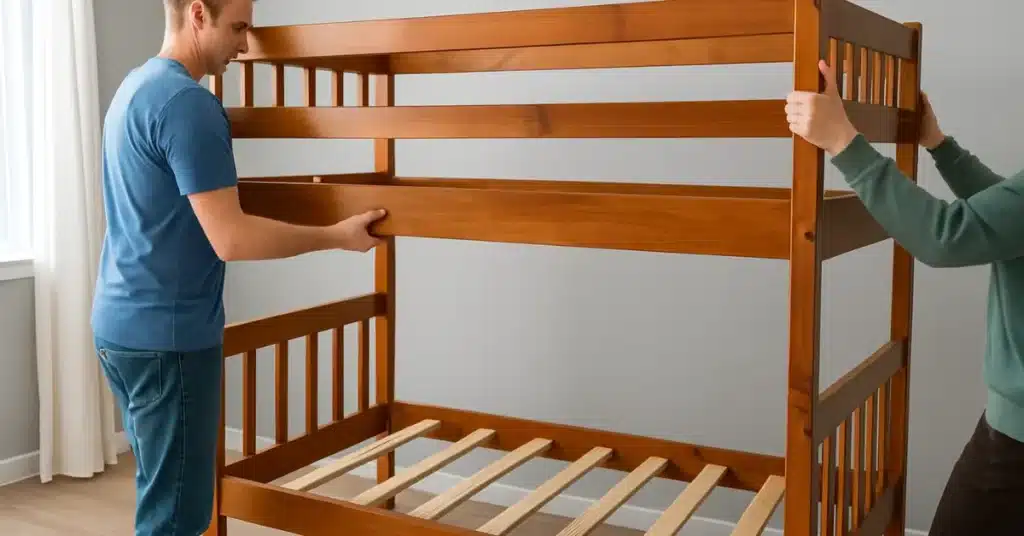
Step 5: Separate the Top and Bottom Bunks
With all bolts removed, gently lift the top bunk off the bottom one. This part may require a second person, especially if the frame is heavy or made of solid wood. Tilt slightly and separate without forcing to avoid cracking any joints.
Final Step: Store or Label Parts
Once everything is disassembled, label each panel or frame section with masking tape (e.g., “top left rail”, “bottom right post”). Organize all hardware and fasteners so you can easily reassemble the bed later.
Special Steps for Different Types of Bunk Beds
When disassembling a bunk bed, the process can vary depending on the material and brand. Understanding these differences helps avoid damage and ensures a smoother experience.
Wooden Bunk Beds
Wooden bunk beds are common in homes due to their sturdy and aesthetic design. However, they tend to be heavier and may use a variety of fasteners such as long bolts, wooden dowels, and metal brackets. Disassembling wooden bunk beds often requires:
- An Allen wrench, flathead screwdriver, or ratchet to handle large bolts
- Extra care when pulling joints apart to prevent wood from splintering
- Labelling wooden parts to avoid mix-ups when reassembling
Tip: Tap lightly with a rubber mallet if two wooden panels are stuck together never force them apart.
Metal Bunk Beds
Disassembling metal bunk beds is usually quicker, but it may require dealing with small nuts, screws, or welded joints. Metal frames are often lighter, but their sharp edges and thin parts need careful handling.
- Use a socket wrench, Philips screwdriver, or hex key for common metal fasteners
- Watch for rusted or stripped screws, especially on older beds
- Avoid scratching or bending hollow tubes during separation
Tip: Wear gloves to prevent cuts and always store metal parts securely to avoid dents or bends.
Some brands like IKEA bunk beds or modular systems may have unique assembly methods. Always check for user manuals or download guides from the manufacturer’s website.
Packing and Organizing Bunk Bed Parts for Moving
Disassembling, packing and moving bunk beds isn’t just about taking things apart, it’s about keeping every piece organized to make reassembly easier. Whether you are doing it yourself or getting help from expert removals, smart packing saves time and stress later.
Label All Hardware
After removing the bolts, screws, nuts, and washers, place them in zip-lock bags or small containers. Clearly label each bag based on where the hardware came from e.g., “guard rail bolts” or “top bunk screws.”
Tip: Tape the labeled bags directly to the matching bed frame pieces to keep everything together.
Wrap the Bed Frames
To secure the bunk bed frame for transport, use moving blankets, foam padding, or bubble wrap to protect the wood or metal from dents and scratches. Wrap each frame section separately and bundle slats together with stretch film or rope.
Tip: Avoid taping directly onto painted or varnished surfaces, use wrapping materials as a buffer.
Organize and Load Efficiently
- Keep all bunk bed parts grouped together in the moving truck
- Place longer pieces like side rails along the edges to save space
- Avoid stacking heavy furniture on top of the packed bunk bed parts
By packing bunk bed parts for moving with care and organization, you’ll ensure that reassembly at your new location is quick, safe, and stress-free.
Reassembling Tips
Now that your move is complete, it’s time to put everything back together. Knowing how to reassemble a bunk bed correctly is just as important as taking it apart.
To assemble and disassemble a bunk bed safely, always reverse the steps you took during dismantling:
- Start with the bottom frame first, ensuring it’s leveled and stable.
- Attach the support slats or boards.
- Stack and secure the top bunk frame next.
- Reinstall the guardrails and ladder.
- Place the mattress last.
If you labeled each part during disassembly (like we recommended), reassembly becomes much faster and less confusing. Refer to any brand-specific instructions especially for IKEA or other modular brands to ensure every bolt and bracket goes where it belongs.
Safety Tip: Always double-check the tightness of all bolts and screws to avoid any instability.
FAQs
It’s not recommended. Bunk beds are large and difficult to move in one piece. Disassembling bunk beds reduces the risk of damage and makes transport safer and easier.
Not if you’ve labeled everything clearly while dismantling. Following the reverse steps and referring to any manuals or photos taken during the process can make reassembly smooth.
Conclusion
Learning how to dismantle a bunk bed the right way starts with proper planning and the right tools. From labeling hardware to using protective gear, every small step ensures a smooth and safe process.
Whether you are disassembling bunk beds for relocation or storage, always stay organized, store all screws, bolts, and parts in labeled bags and keep the frames protected. This preparation will make reassembly easier and help extend the life of your bunk bed.
If you are unsure or short on time, consider hiring removal experts who specialize in safely dismantling and transporting furniture. Safety, patience, and attention to detail go a long way.